Application overview
This section is a map of the ATracker admin for operators: where to go to add a domain, offer, source, and campaign, and where to look when clicks or conversions do not line up. It does not configure entities — only orientation and a recommended work order. Detailed how-tos for each entity are in the neighbouring docs articles.
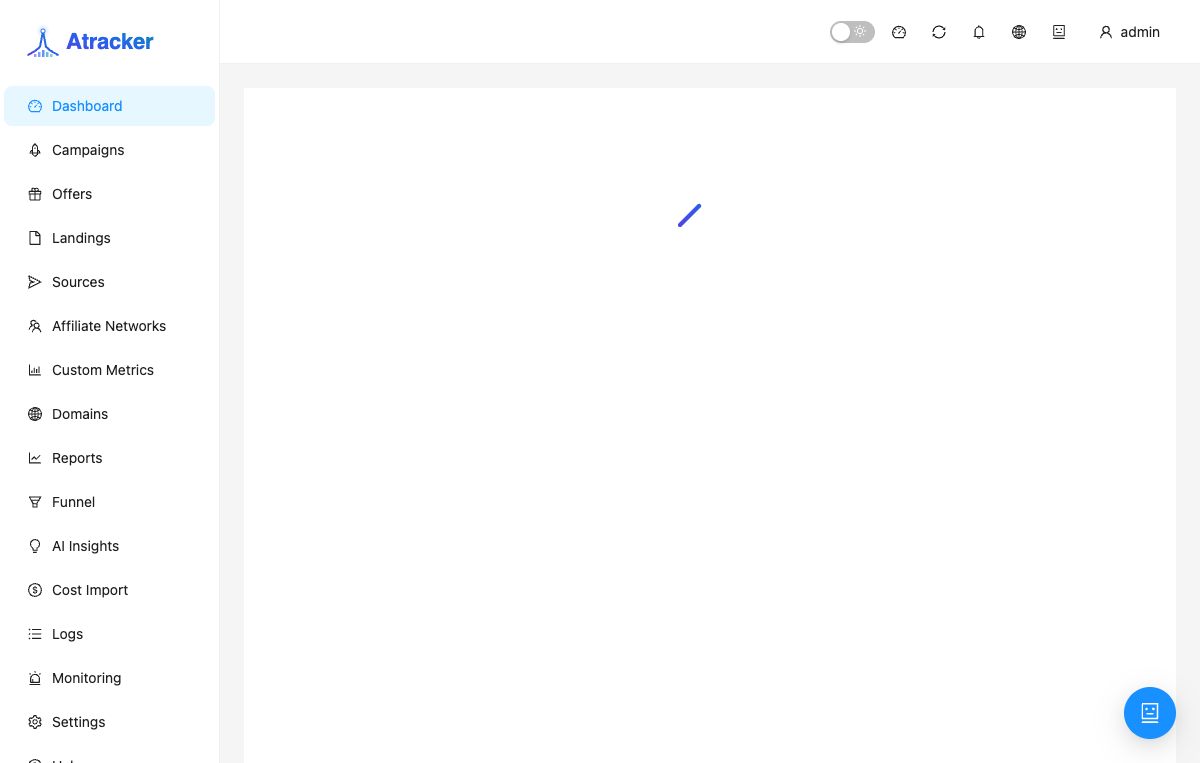
ATracker is a self-hosted tracker. After login you use the admin SPA: a left sidebar for sections and a top header for system status, language, and profile. Menu visibility depends on role and page permissions; the admin role sees everything.
Problem this overview solves
A new instance or a new teammate often browses the menu and creates a campaign before the domain and offer exist. Then the tracking URL fails, the flow is empty, and there is nowhere to copy a postback. This article locks in which order to open sections and which route each screen uses, so the rest of the how-tos work without surprises.
How to open the admin and help
- Open your instance admin URL and sign in with an account that has the required permissions. Without page permission, a menu item may be missing or return an access error.
- On desktop the sidebar stays on the left. On a narrow screen open it with the header hamburger — otherwise some sections stay hidden.
- In-app help: Help (
/help). Public docs (this site):https://atracker.io/docs. Public API schema: Settings → API Tokens → API Docs (download OpenAPI JSON or Postman; interactive Swagger UI is disabled in production).
Sidebar: where to go by task
This is a task map, not a button catalogue. Open a section when you need that job done.
| If you need… | Section | Route |
|---|---|---|
| Period summary and live “right now” | Dashboard | / |
| Tracking URL, flow, pixels, JS snippet | Campaigns | /campaigns |
| Offer destination URL, caps, payout | Offers | /offers |
| Preland / landing in a flow | Landings | /landing-pages |
| Source params and outbound postback to ads | Sources | /traffic-sources |
| Inbound postback template from the network | Affiliate Networks | /affiliate-networks |
| Custom metric formulas in reports | Custom Metrics | /new-metrics |
| Tracking domain, DNS, SSL | Domains | /domains |
| Tracking on a separate server (Exit Nodes / EDGE) | Settings → Exit Nodes | /settings?tab=exit-nodes |
| Breakdowns, drilldown, export | Reports | /reports |
| Funnel and path events | Funnel | /funnel |
| Ad spend import | Cost Import | /cost-import |
| Hints and AI chat over data | AI Insights | /insights |
| Raw clicks, conversions, postbacks, S2S, CAPI | Logs | /logs |
| Offer/flow availability checks | Monitoring | /monitoring |
| Users, integrations, OTA, Fraud Score, Track Paths | Settings | /settings |
What the header does (not the sidebar)
The header does not duplicate the sidebar. Theme and language only change the UI. System status shows whether services that clicks and reports depend on are up (if ClickHouse or the queue is down, stats and live can be empty or stale). The OTA Updates badge opens Settings → Updates when an update is available (settings access required). Alerts are monitoring notifications (offer down, fallback suggestion). The user menu jumps to Settings and Logout.
Recommended first-launch order
Build entities bottom-up by dependency: domain → network/offer → source → (optional) landing → campaign → verify in logs → summary on Dashboard/Reports.
- Domains — add a tracking domain, wait for DNS Verified and active SSL. Without that, campaign URLs and JS snippets have nowhere to hang.
- Affiliate Networks, then Offers — paste the network postback URL into the partner dashboard, create an offer with
{clickid}in the URL. - Traffic Sources — create a source (template or manual), map sub_id params and outbound postback to ads if you need S2S.
- Landing Pages — only if the funnel uses a prelander; otherwise go straight to the campaign.
- Campaigns — create a campaign, pick domain and source, build a flow (landing → offer or offer only), copy the URL or JS snippet.
- Send a test click and open Logs: click first, then a test postback/conversion. Only then trust Dashboard and Reports aggregates.
- Connect Cost Import and Custom Metrics when needed — otherwise cost/ROI on the summary may be zero or incomplete.
Typical “where to click” scenarios
Launch a new source setup. Domains (skip if already Verified) → Affiliate Network + Offer → Traffic Source → Campaign (flow) → Copy URL / JS Tracking → Logs.
Clicks exist, conversions do not. Do not start on the Dashboard. Open Logs → Conversions / Postbacks: is there an inbound postback, did clickid match? Also check the offer URL and network postback URL.
Fraud / quality concern. There is no separate Fraud Dashboard page. Use the Dashboard Fraud tab and thresholds under Settings → Fraud Score; campaign/offer lists may show quality columns when enabled.
Common start mistakes
- Campaign created before the domain is Verified — tracking URL cannot serve HTTPS or DNS has not converged (Fail / Not checked).
- Offer without a network or without
{clickid}— the partner cannot return conversions to the tracker. - Looking for Keitaro/Binom import in the sidebar — it is under Settings → Tracker Import (Ops group).
- Expecting a separate Fraud Dashboard menu item — use Dashboard → Fraud and Settings → Fraud Score instead.