Fraud Score: find and cut dirty traffic
Bots and datacenter traffic inflate cost and break ad optimization, but there is no separate “Fraud Dashboard” menu item. The ATracker operational loop: spot a spike → isolate the campaign → read signals in Logs → decide what to flag vs cut in Settings. The Fraud Score threshold mostly flags clicks; blocking uses datacenter block, auto-blacklist, and IP Lists. See bot traffic and click fraud.
Outcome. In 15–20 minutes tell whether dirt is source/sub_id level or a threshold tuning issue; decide: cut in ads, tighten policy, or temporarily whitelist the office for a test.
Prerequisites
- Access to Dashboard, Campaigns, Reports, Logs; Settings (Fraud Score, IP Lists) to change policy.
- Campaign cost or Cost Import — otherwise ROI in Reports will not separate “expensive bot” from “expensive legit”.
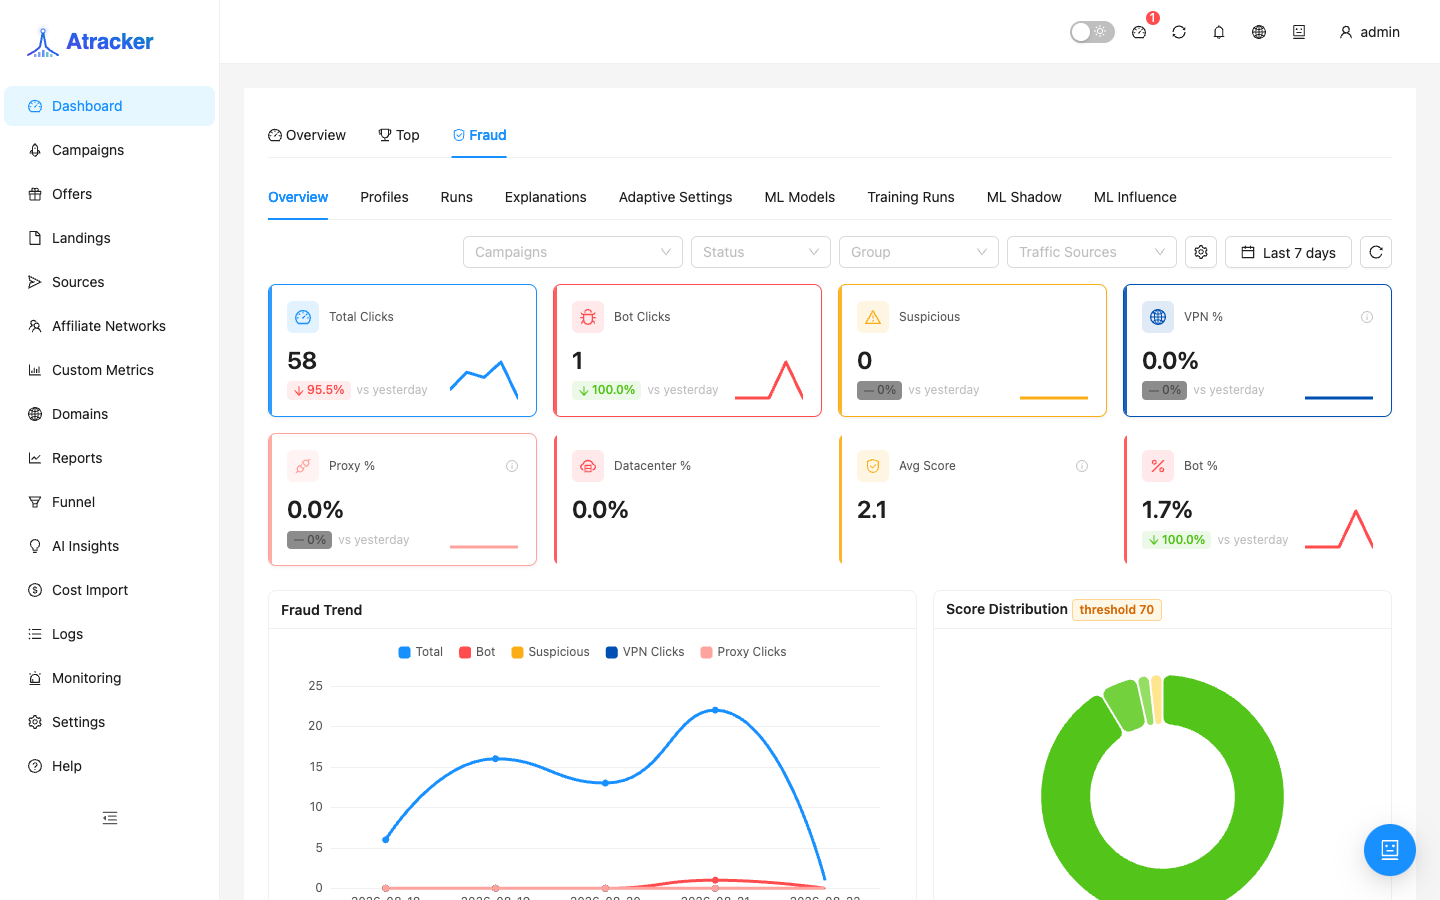
Step 1 — Dashboard → Fraud
- Open
/, pick a period (Today / Last 7 days). - Open the Fraud tab. Is Fraud % or Fraud Clicks up vs your baseline?
- If the spike is narrow — filter campaigns on the Dashboard; if broad — check Settings, not only one funnel.
Step 2 — Campaigns / Reports: which funnel is “red”
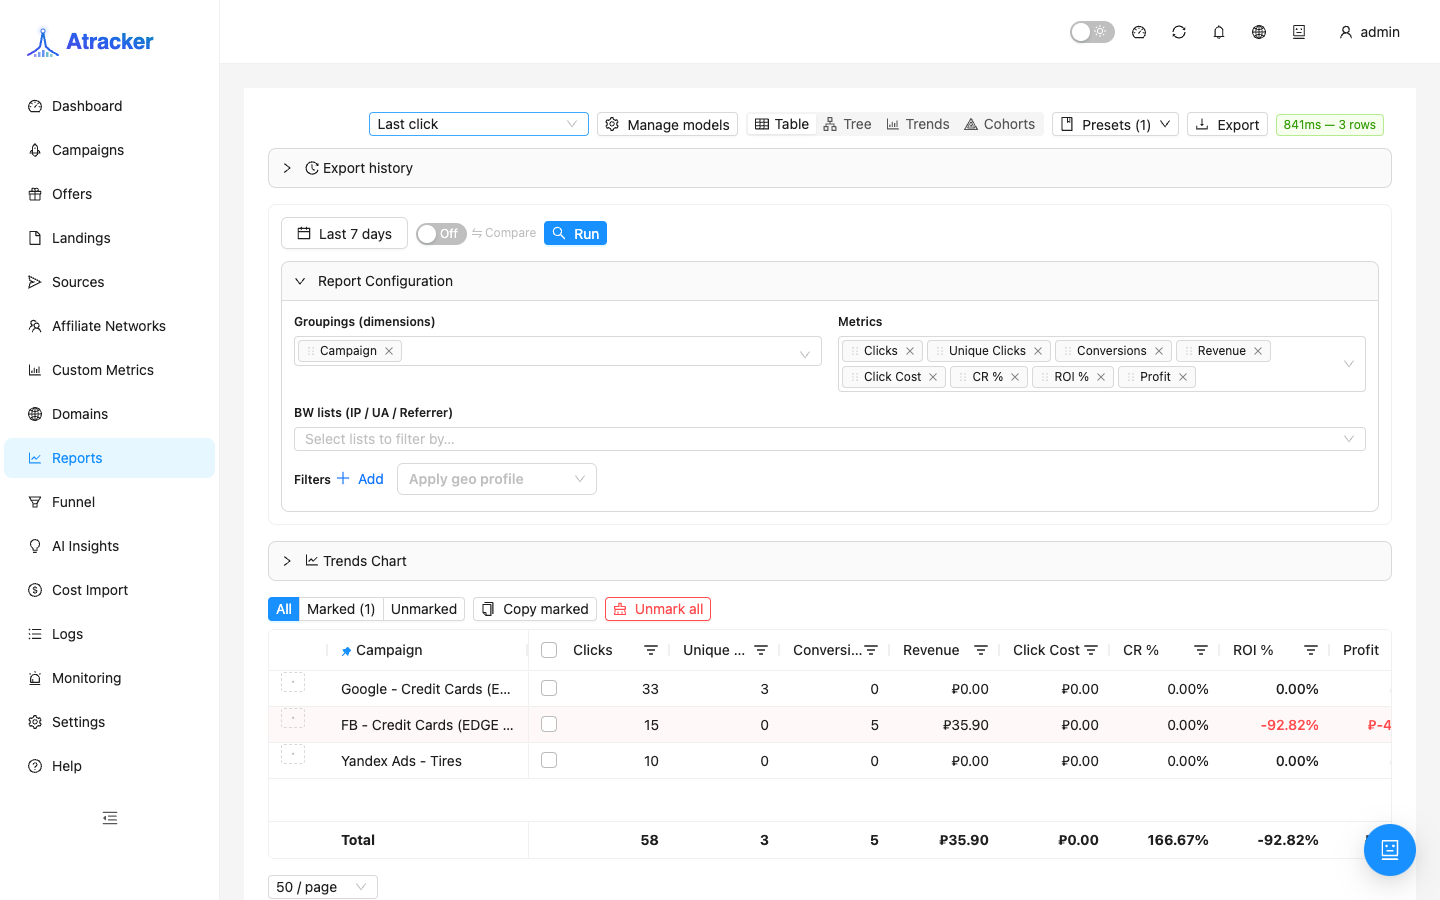
- In Campaigns, show Fraud Clicks, Fraud %, Avg Fraud Score columns if hidden.
- In Reports, group by Campaign or Traffic Source for the same period. High Fraud % with zero conversions → candidate to stop in ads.
- Note 1–2 bad campaign ids — next step is Logs.
Step 3 — Logs → Clicks → Suspicious
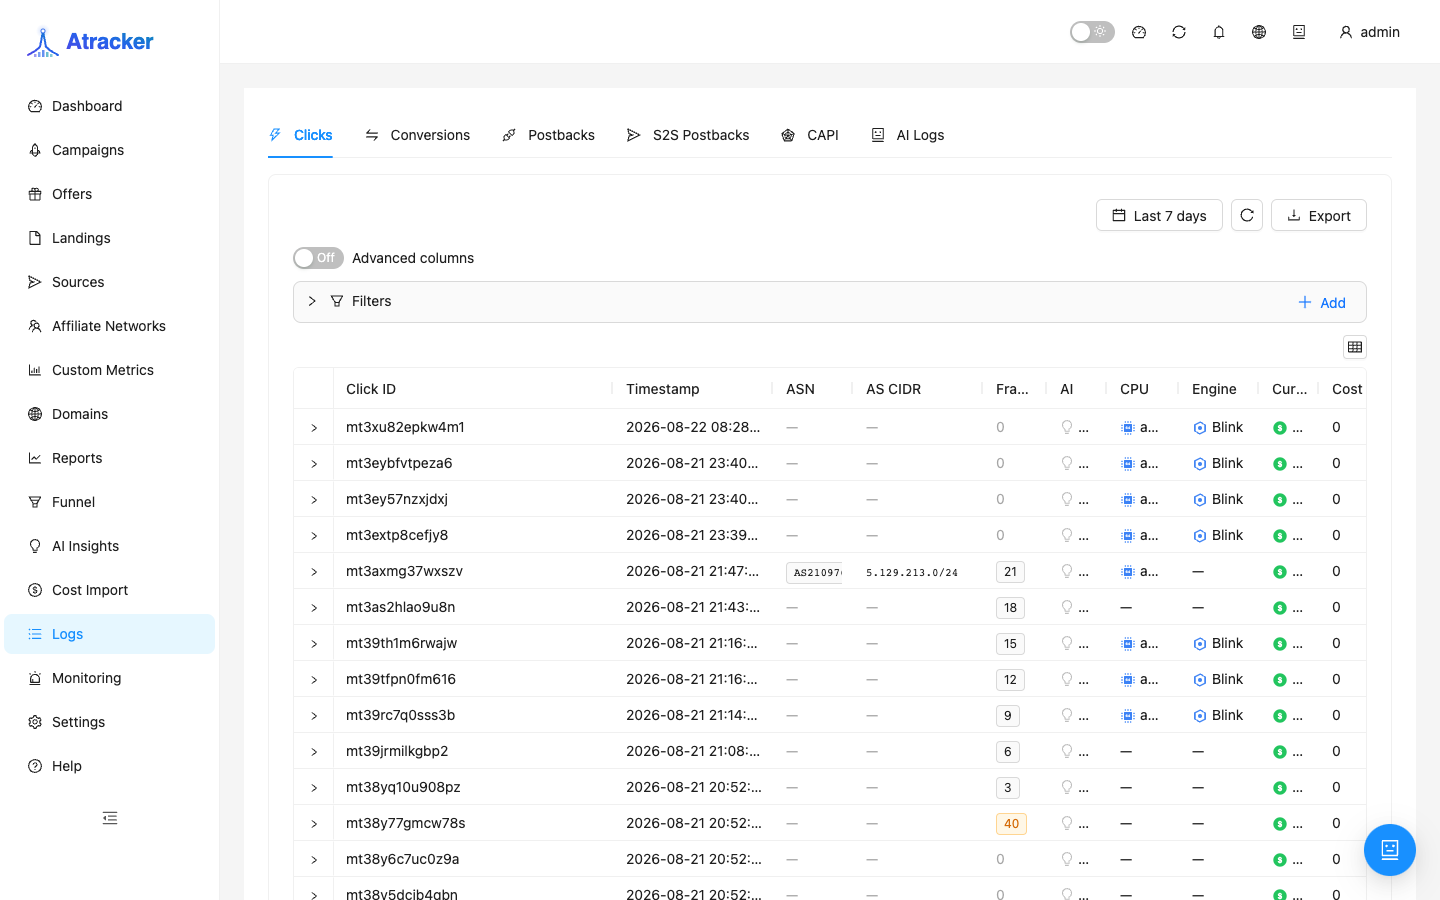
- Open
/logs?tab=clicks, filter the bad campaign. - Enable Suspicious. Open click detail: fraud score and triggered signals (bot UA, datacenter, VPN/proxy, rate).
- If one ASN/subnet dominates → blacklist/datacenter block; if mixed → likely source or creative.
Step 4 — Settings → Fraud Score: flag vs cut
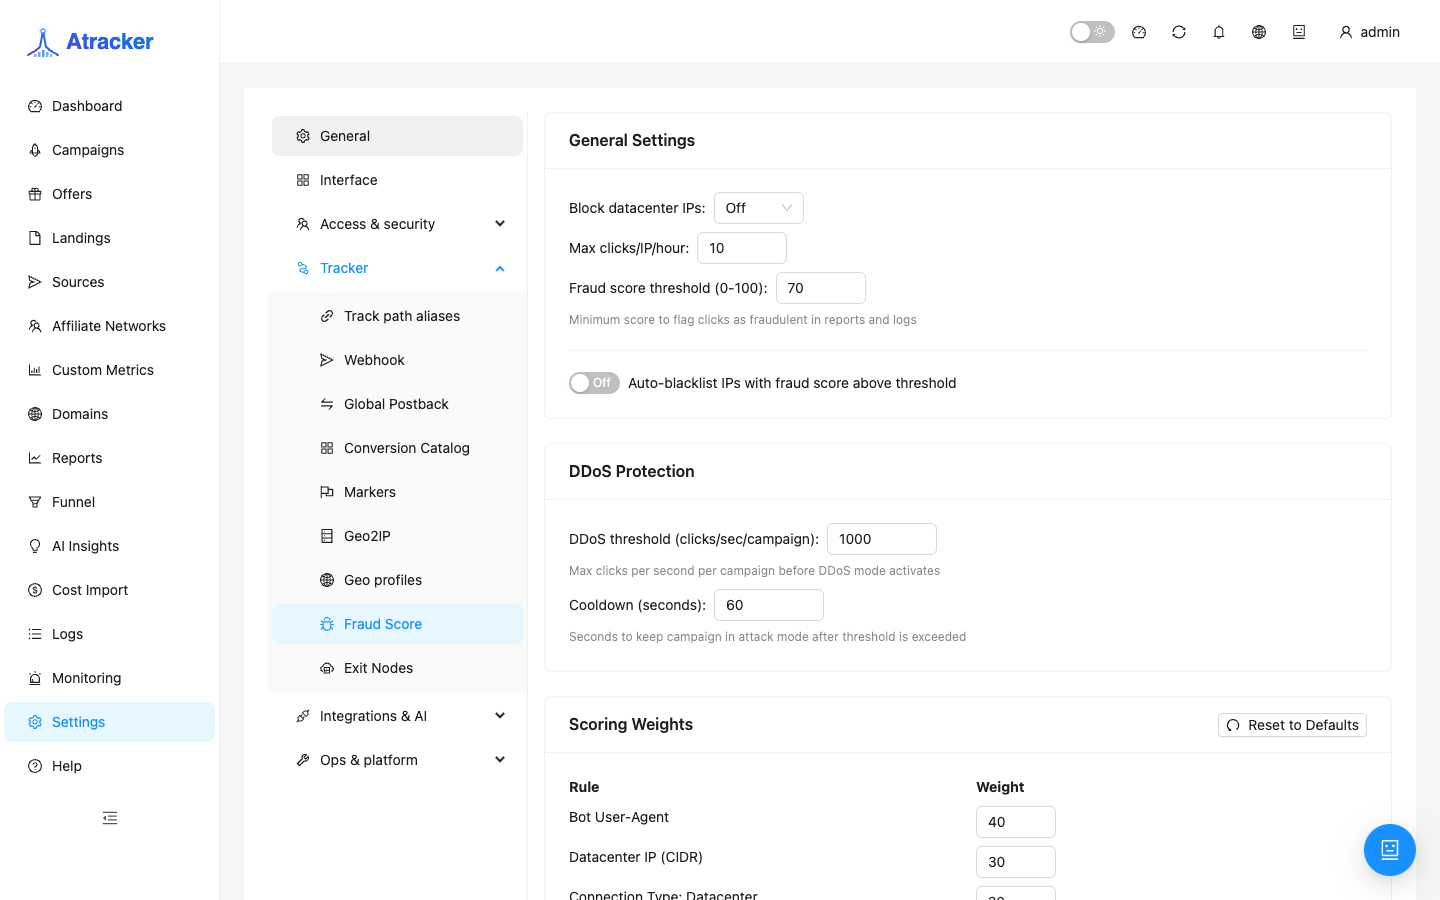
- Open
/settings?tab=fraud-score. - Threshold — clicks with score ≥ threshold are flagged in Reports/Logs. Start with observation; do not raise the threshold blindly when conversions still arrive.
- Block datacenter IPs — hard-cut datacenter traffic (separate from threshold).
- Auto-blacklist — IPs above threshold go to blacklist; review the list periodically.
- Weights — raise one signal at a time, confirmed in Logs; Reset rolls back experiments.
- DDoS Protection — clicks/sec per campaign; not the Public API ~300 req/min limit.
Step 5 — IP Lists and traffic decision
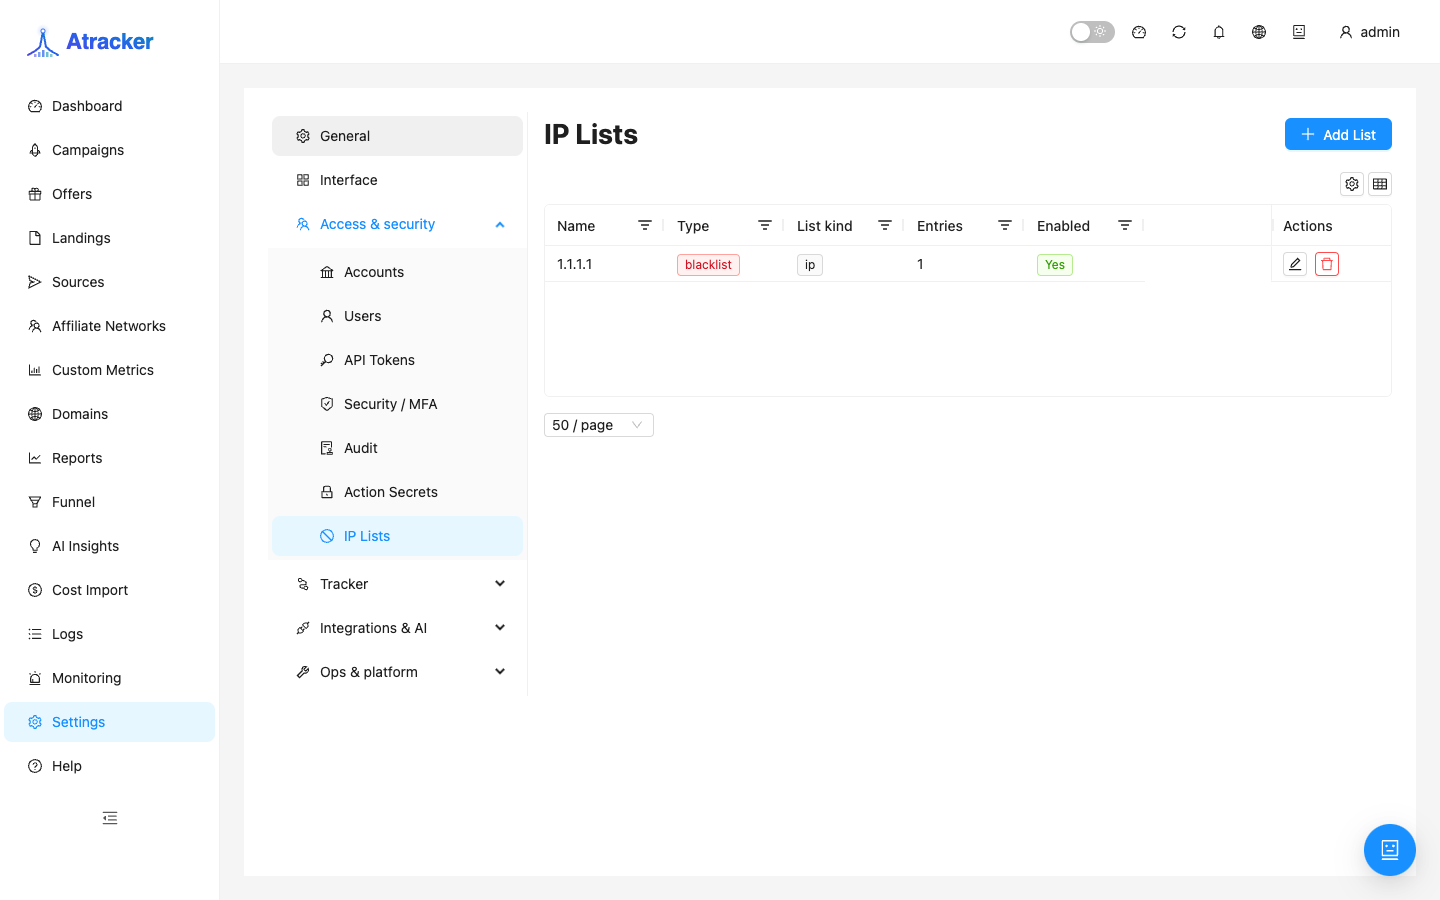
/settings?tab=ip-lists— narrow Blacklist CIDR after Logs confirmation.- Whitelist — office/stand only for tests; a wide CIDR disables detection for a whole range.
- Decide: (a) stop/slice in ads by sub_id/geo, (b) tighten datacenter/auto-blacklist, (c) whitelist + retune weights if false positives hit paying traffic.
Typical scenarios
- Fraud % up on one campaign after a source change → Logs Suspicious → Block datacenter or blacklist ASN.
- Office load test → temporary whitelist, then remove.
- Clicks marked Suspicious but volume unchanged → threshold without block/auto-blacklist only flags; enable block or IP Lists.
- High score with conversions → do not raise threshold; lower one weight or whitelist a narrow office IP.
Common mistakes
- Looking for Fraud in the sidebar — there is none;
/fraudredirects home. - Expecting per-rule block/redirect in the UI — you have threshold, weights, datacenter, auto-blacklist, DDoS.
- Changing Fraud Score in production without checking Suspicious in Logs on small traffic first.
- Whitelisting a /16 “just in case” — legit traffic stops being checked.