Campaigns
A campaign is the tracker’s working unit: it has a tracking URL (domain + alias), a traffic source binding, a routing flow, and tabs for postbacks, pixels, schedule, auto-rules, and JS Tracking. Operators create a campaign when they need to accept ad traffic and send it to landings/offers while counting clicks and conversions.
Purpose. Assemble a working “source → tracker → offer” path, give ads a URL or JS snippet, verify a click, then add pixels and pause rules when needed.
Prerequisites
Before creating a campaign you usually already have: a tracking domain with DNS Verified and SSL; a Traffic Source (even a manual one); an Offer (and network if you need inbound postbacks). A landing is optional. You can save an empty campaign and finish the flow later, but do not put that URL into ads yet.
How to open
- Sidebar → Campaigns (
/campaigns). - Create: New / Create or route
/campaigns/new. - Edit: click a row or Edit. After save, the editor tabs appear.
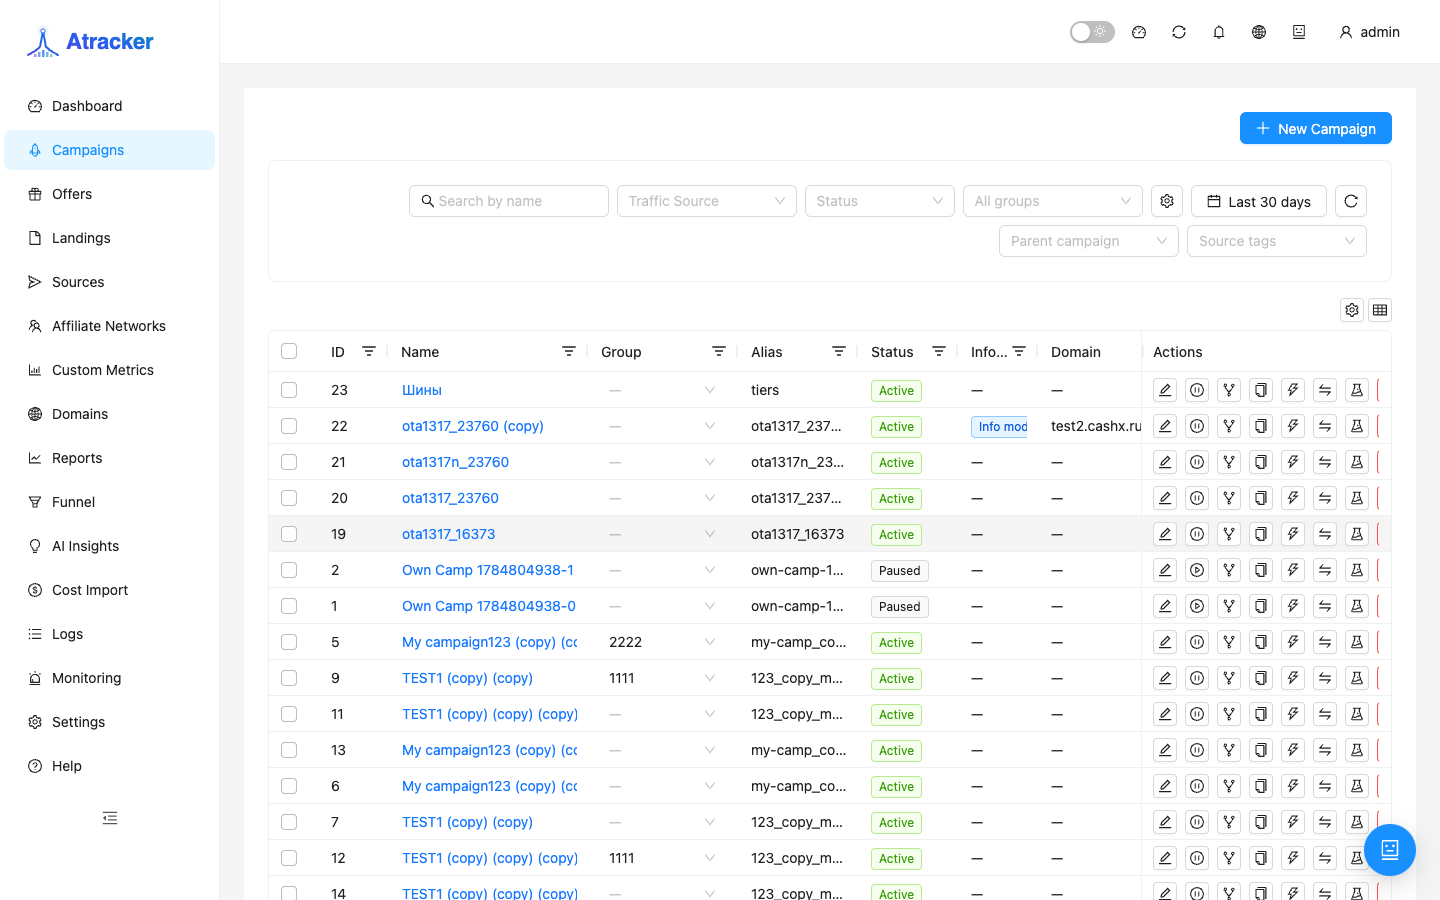
List: using filters without button bingo
Date changes metrics in the table (clicks, conversions, revenue, cost, profit, CR, ROI, fraud%, custom metrics), not whether the campaign exists. Traffic source helps when dozens of campaigns span channels. Status (active / paused / with_click) separates quiet from live. Search matches name or alias. Groups (Groups / Manage groups) act as folders (“FB Tier-1”, “SEO tests”) so the list stays manageable.
Row actions: Edit, Clone, Copy URL, View Clicks / View Conversions (logs with filter), Simulate (route check without ads), Purge (irreversible stats wipe — use deliberately). Bulk: Pause / Resume / Archive.
Create a campaign — step by step
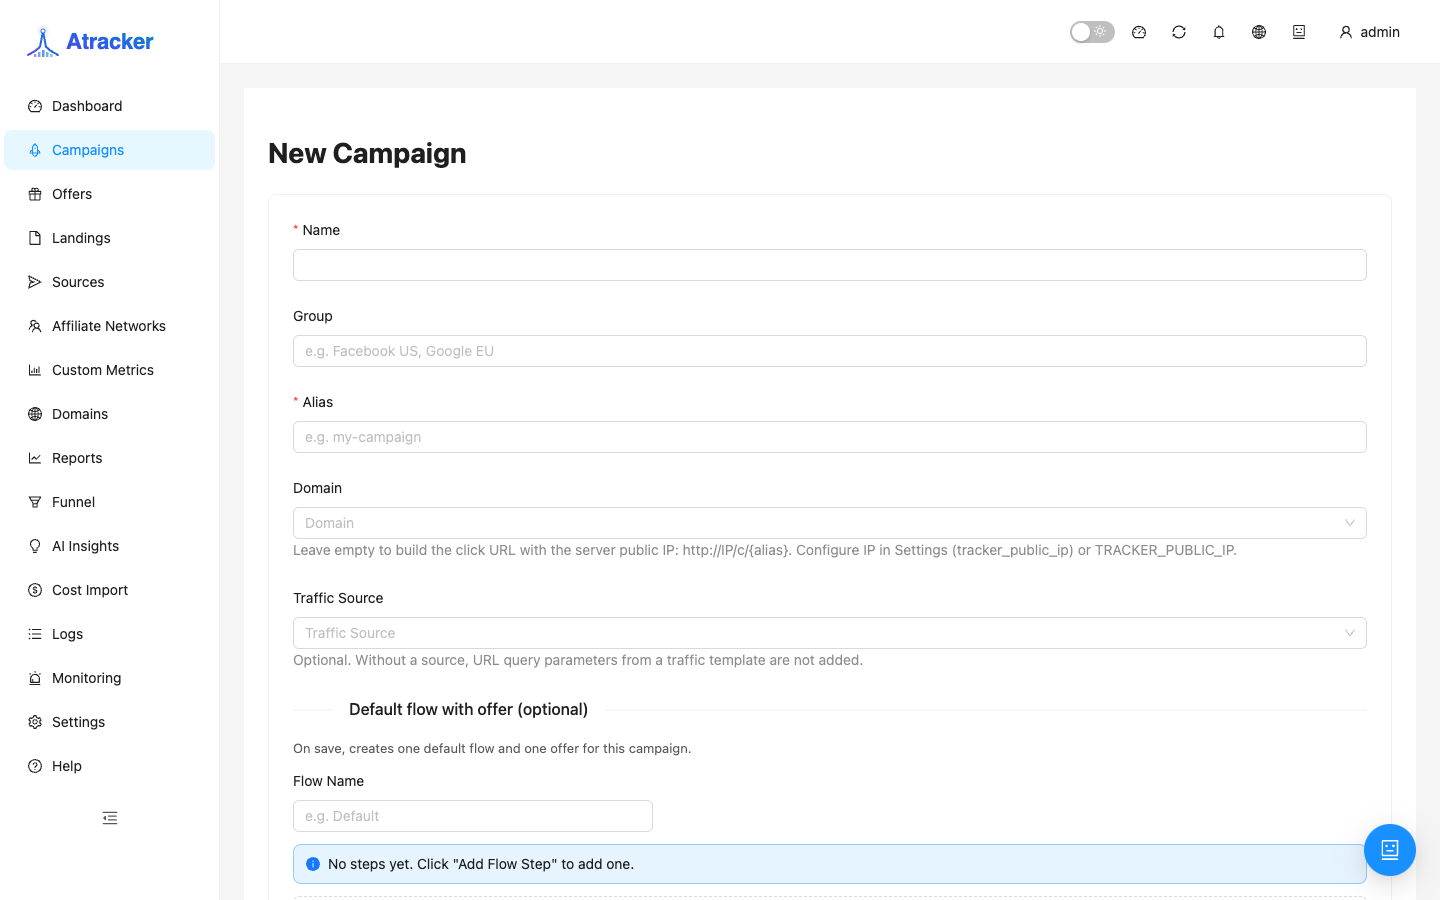
- Set a report-friendly Name (source + offer + geo) and optional Group.
- Set Alias — the path in the tracking URL (e.g.
fb-cio-us). It must be unique on the selected domain; conflicts block save. - Pick a Domain from Domains. Use only Verified + SSL, or ads get a broken link.
- Bind a Traffic source. Without it, source template sub_id params and outbound S2S postback will not auto-fill — you would map Subid Aliases by hand.
- Optionally choose an Initial flow; otherwise build Flows after save.
- Configure spend accounting: CPC / CPM / CPA / CPS / RevShare, cost value, optional cost auto and traffic loss %. This drives ROI on Dashboard/Reports before (or instead of) Cost Import.
- Choose path rotation (position or weight) and optional bind visitors so return visits stay on the same path.
- Set uniqueness (ip / ip_ua / cookie) and TTL — this defines unique clicks in stats and JS Tracking.
- Status active or paused; use Frequency cap when limiting per visitor. Save and open the editor.
Editor tabs — what to configure and when
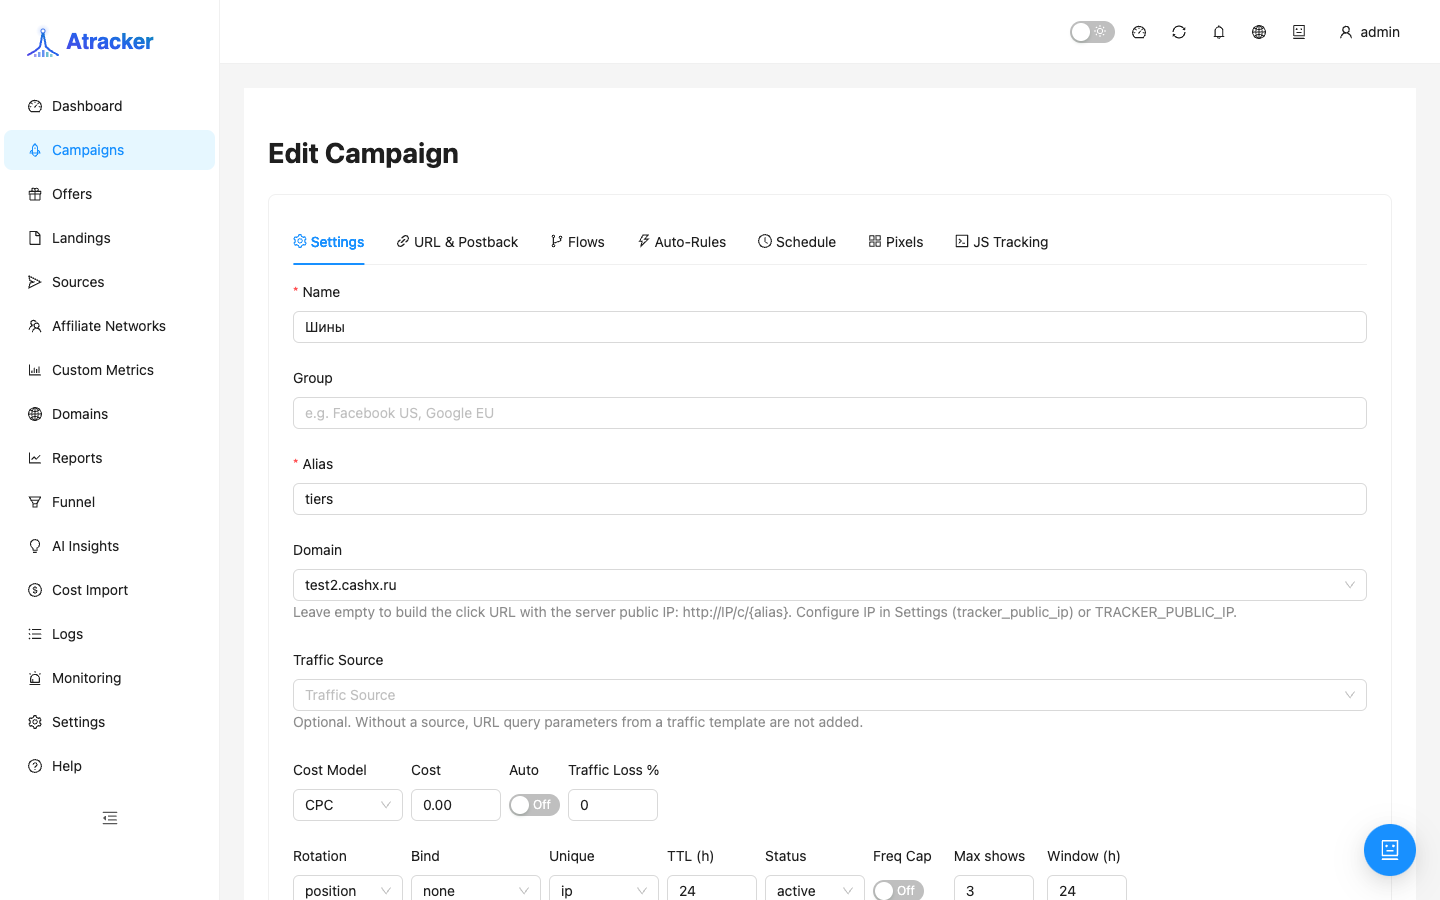
Settings. Base fields (name, group, alias, domain, source, cost, uniqueness, status) plus Subid Aliases when ads send custom param names that must map to sub_id_1…sub_id_30. Also outbound S2S postback URLs by conversion type (lead, sale, etc.) when events are not only from the Traffic Source.
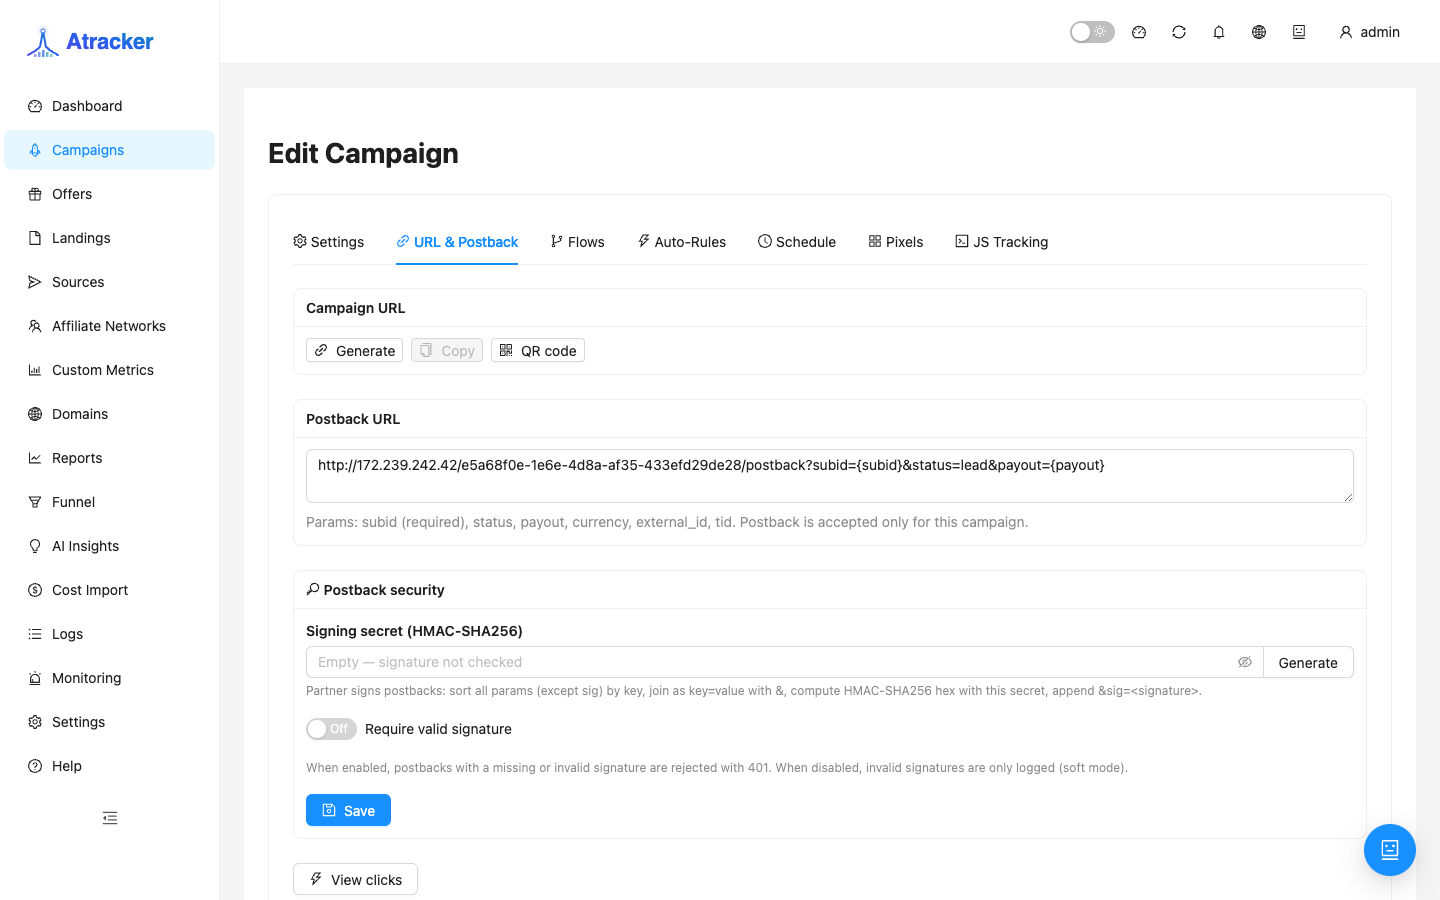
URL & Postback. Ready campaign URL for ads, inbound postback/conversion URL, and links into logs. Copy the URL here only after domain and alias are final — changing alias breaks already-running ads.
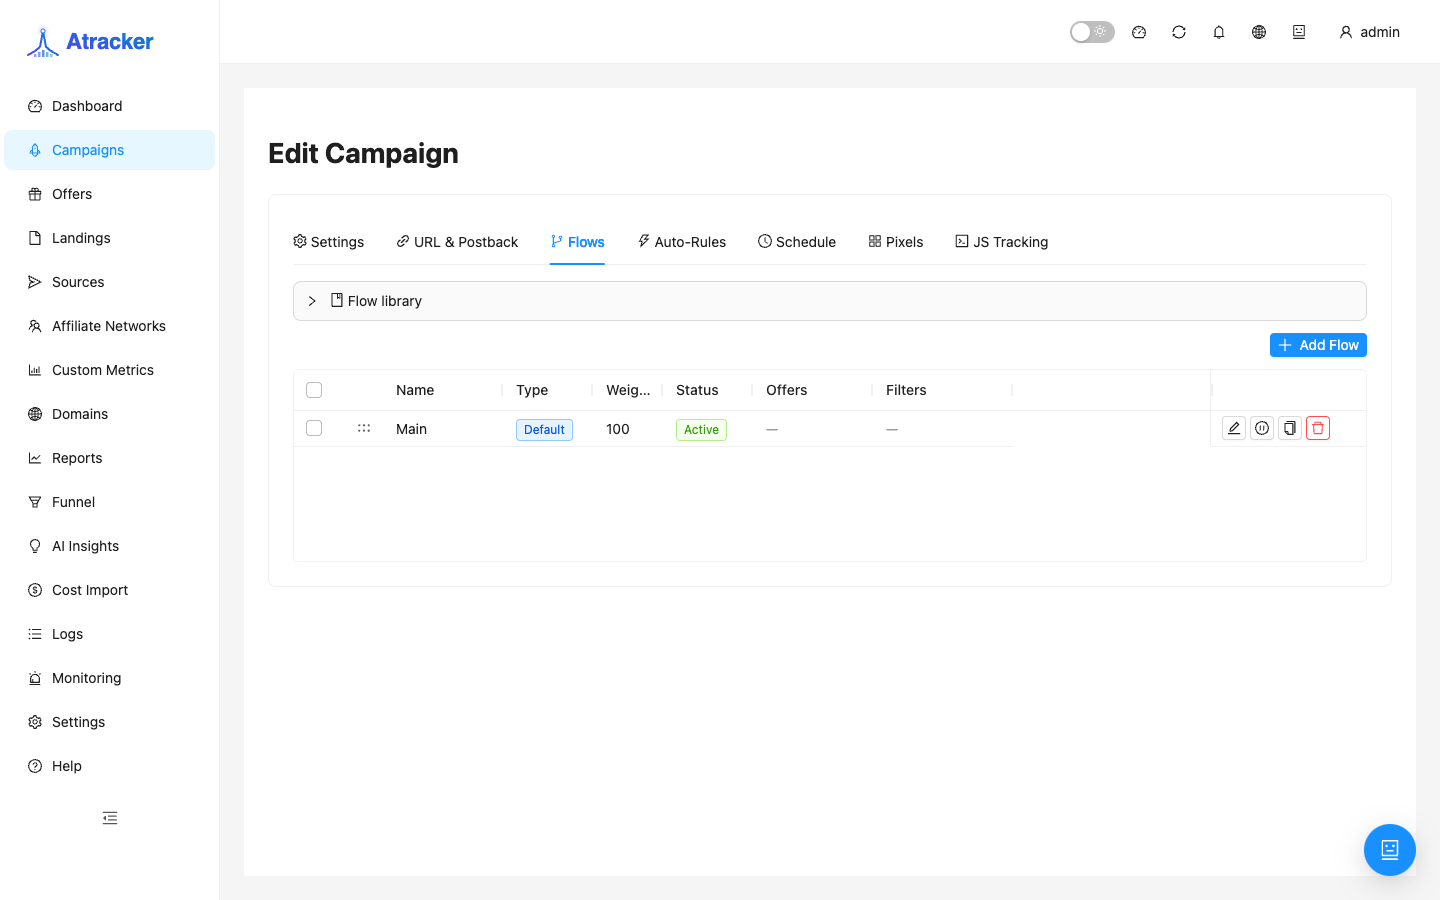
Flows. Build the route: landing/offer steps, filters (geo, device, etc.), weights, A/B, smart rotation, monitoring. Without an active flow that reaches an offer, a click may count but the visitor has nowhere to go. Start with one simple path (landing → offer or offer only), verify with Simulate/test click, then add filters.
Auto-Rules. Conditions on CR, ROI, cost, clicks, zero conversions → pause / alert / alert_and_pause at flow, offer, or campaign level. Enable after you have a stable click base — otherwise rules fire during warm-up.
Schedule. Dayparting by weekday and hour (UTC). Use when the offer or moderation needs a show window; remember UTC vs local prime time.
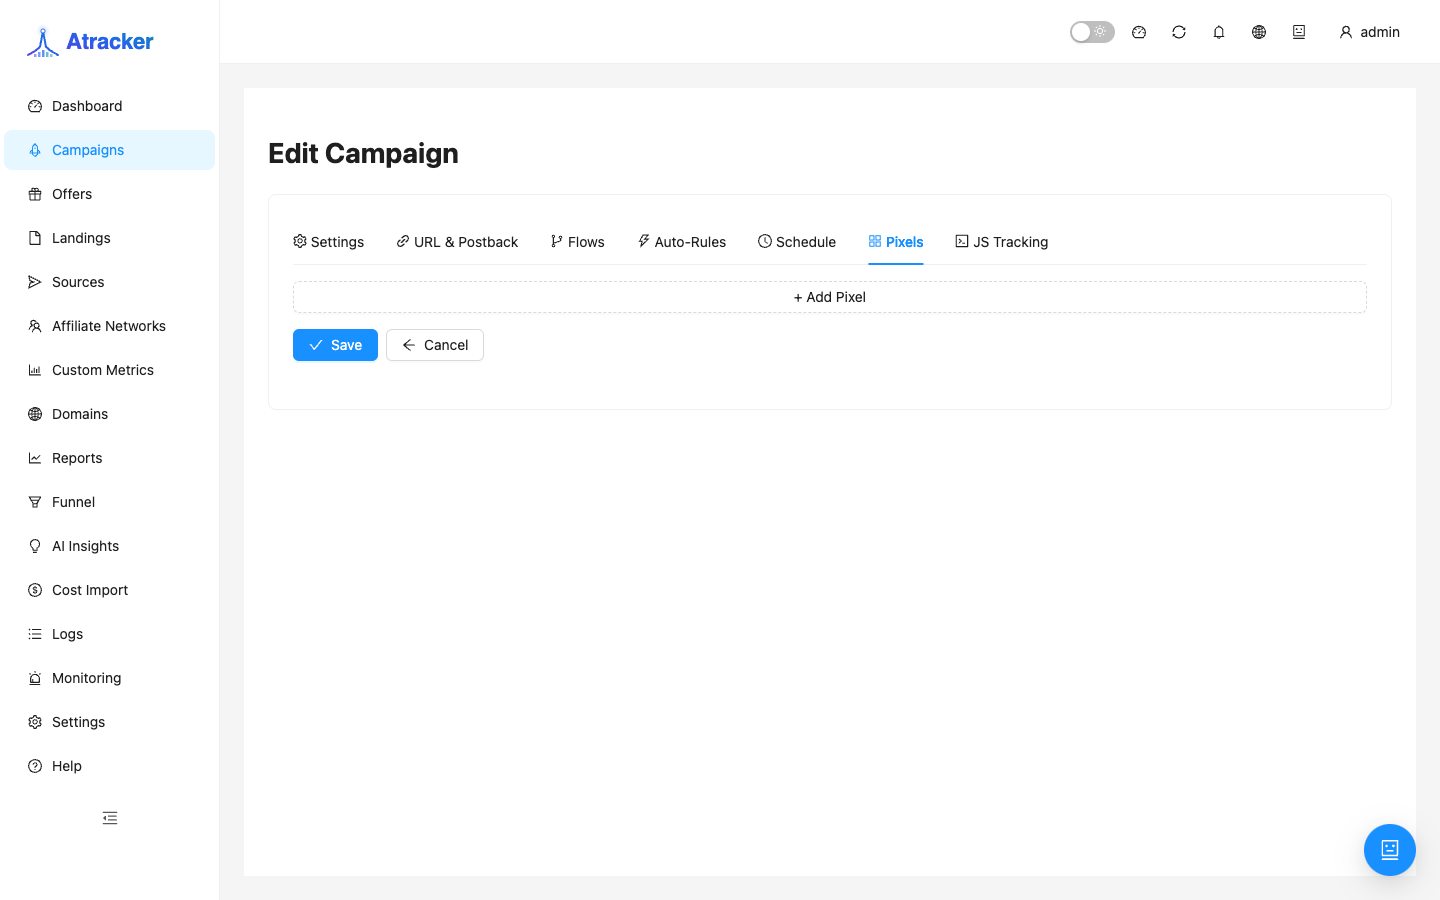
Pixels. Ad pixels (Facebook, Google, TikTok, Yandex, VK, myTarget, etc.). Separate from JS Tracking: pixels send events to ad dashboards; JS Tracking records clicks/conversions for the tracker on an external landing.
JS Tracking. Snippet without a mandatory redirect through the alias — see the dedicated article. Open it here: Campaigns → edit → JS Tracking tab.
Recommended order for a new campaign
- Create the campaign (domain + alias + source + cost/uniqueness).
- Flows: at least one path with an offer (and landing if needed).
- URL & Postback: copy the URL; set network postback with clickid.
- Test click → Logs (click) → test conversion → Logs (conversion/postback).
- External landing → JS Tracking; ad-cabinet events → Pixels.
- After traffic stabilizes → Schedule / Auto-Rules, not earlier.
Typical scenarios
Classic redirect. Ads → campaign URL → flow → landing/offer. Copy the URL from URL & Postback.
External landing without redirect. Ads hit your landing directly; pages include the JS Tracking snippet; Redirect Mode is off or set deliberately.
Clone for a neighbour geo. Clone → change alias, flow filters, and name → new URL into ads. Do not reuse the same alias on the same domain.
Common mistakes
- Alias changed after ads went live — old links 404/wrong campaign. Change alias only with a full URL update.
- Flow without an offer or all paths paused — empty or dead clicks.
- No source bound while ads expect a ready postback — configure Traffic Source or campaign Settings S2S.
- Purge instead of Archive — stats destroyed. Archive hides/archives; Purge deletes data.
- Auto-rules on tiny volume — false pauses. Check Monitoring and fallback offers after a trigger.